Making the Connection: How to keep letters together in Cricut Design Space
When you use the text tool in Cricut Design Space to type a word, the letters are spaced out and each letter will be cut individually. Having letters cut individually works great for some projects, but there will be times when you want the letters to stay connected as one word when it is cut. If I am cutting a sticker, I typically want the words to stay together in one clean cut.
How to Connect Letters in Cricut Design Space?
There are three simple ways to connect Letters in Cricut Design Space. The easiest way to use the line spacing tool to bring the letters closer together. Once the letters are touching the you can use the weld tool to connect the letters for one smooth Cut. Another option is to ungroup the word and connect each of the letters by manually dragging them until they touch. Another option is to use the slice tool to cut the word through a different shape for example cutting the word love through the shape of the heart.
Beginner
This technique for connecting letters is fairly simple. It is a great way to learn a few of the tools native to Cricut Design Space. There are two Beginner methods for keeping words connected in Cricut Design Space. I will also share one alternative for method of keeping letters connected that can work for any text.
- Text Tool
- Line Spacing Tool
- Group Tool
- Ungroup Tool
- Weld Tool
- Align Tool
Beginner Method 1: Using the Line Spacing tool to connect letters together in Cricut Design Space
Illustrated Step by Step Guide to Connecting text in Cricut Design Space using the letter spacing tool:
Select the Text tool and Type your Text
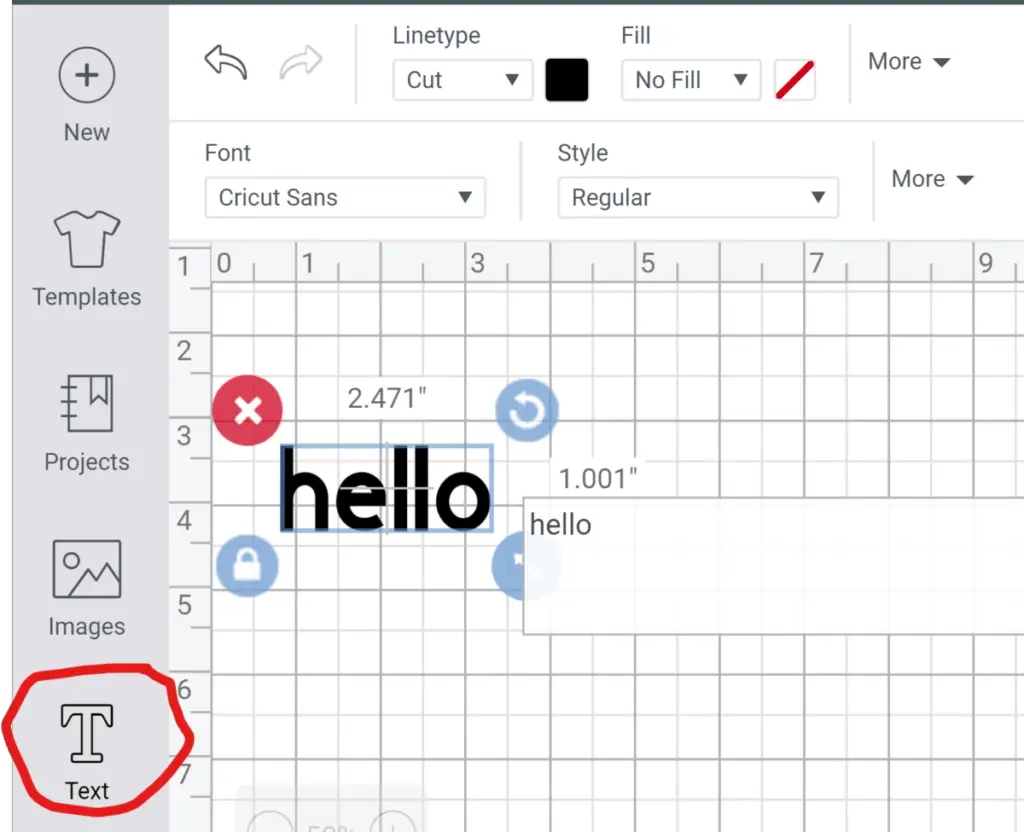
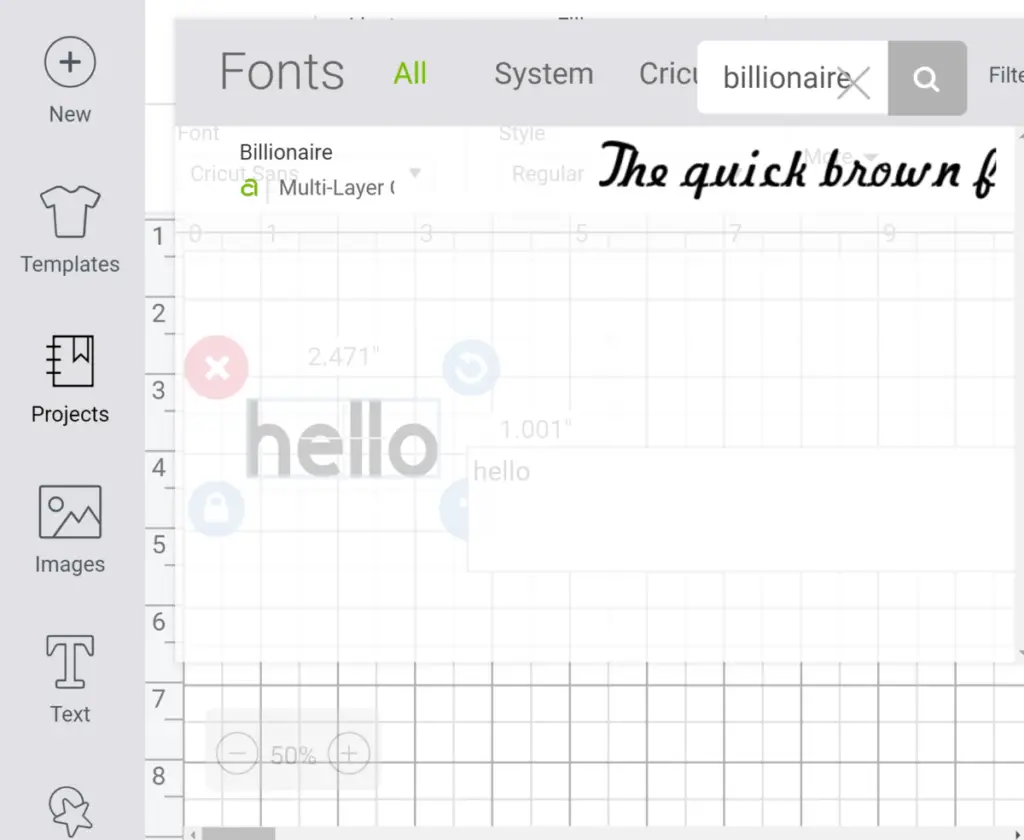
Select Your Desired Font. For this example, I used Billionaire. To use the font Billionaire, you need to purchase it , or have a cricut access subscription. I recently wrote a post about fonts that can be used for free. Read more about that free fonts in that previously published post “Cricut Design Space what is included for Free with Pictures”
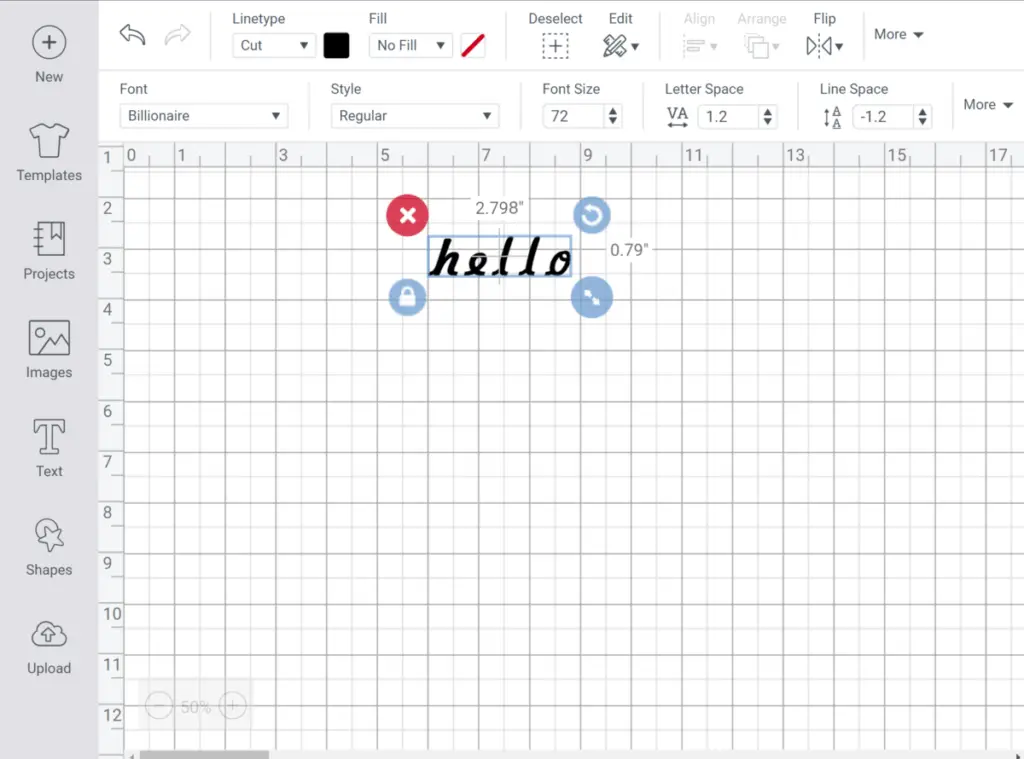
Use the text pacing tool to Remove Space Between Letters
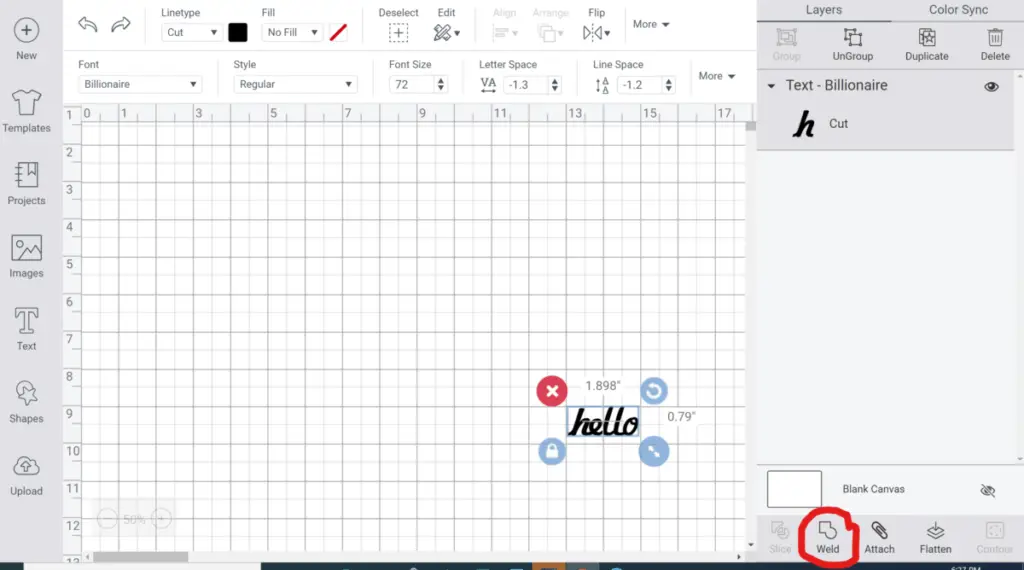
The final step is to use the Weld Tool to connect all the letters into a single word for a smooth cut.
Limitations of this Method
Sometimes letters will overlap and your it may be difficult to read your intended text. Cannot connect two words vertically using this method. This works best with cursive fonts. There is no way to connect the dot to a lowercase “i’ using this method
Beginner Method 2: Using the Ungroup tool to Move Letters Closer together in Cricut Design Space
Illustrated Step by Step Guide to Connecting text in Cricut Design Space by manually adjusting letters
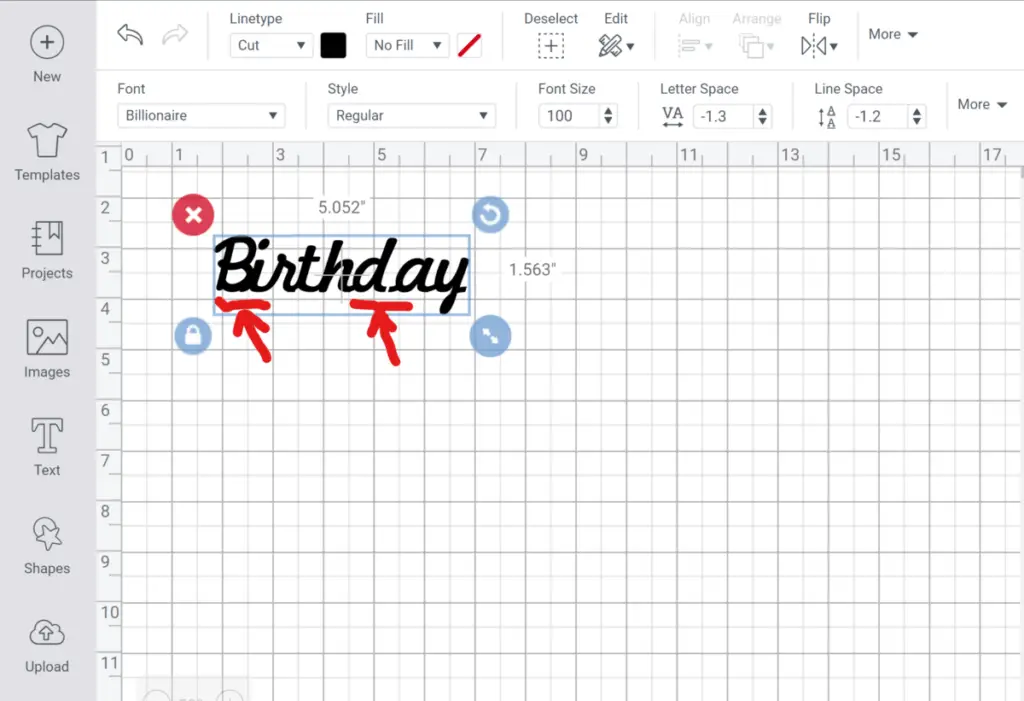
There are times when using the letter spacing option does not work well. Some thinner letters like “i” and “l” start to overlap before wider letters such as “b” “a” and “d” start to touch. The result can be difficult to read and undesired. In the example below, the “B” and “i” in Birthday have started to overlap before the d and a have started touching touched.
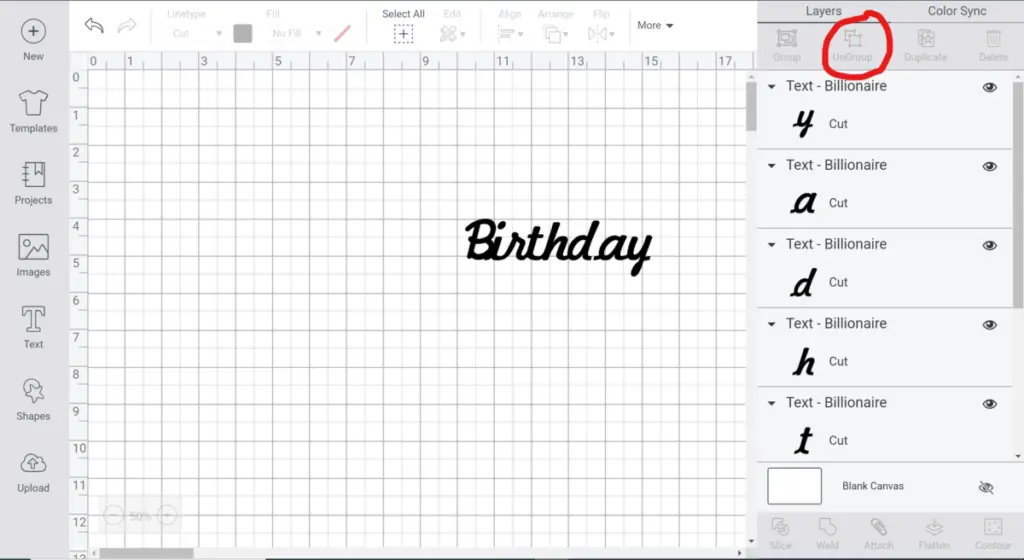
To fix this you would need to use the “Ungroup” when you Ungroup the word birthday the letters become isolated so that you can move them one by one. I adjusted the “B” so that it was no longer touching the I and I adjusted the “d” & “a” so that they are now touching.
After you are done adjusting the letters so that they are touching without overlapping, use the Weld tool to connect them.
You now have one word that can be cut smoothly.
Select the word you are working on, and then select the ungroup button.
Begin dragging each letter closer together until they connect.
Once all letters are connected, use the Weld Tool to connect all the letters into a single word for a smooth cut.